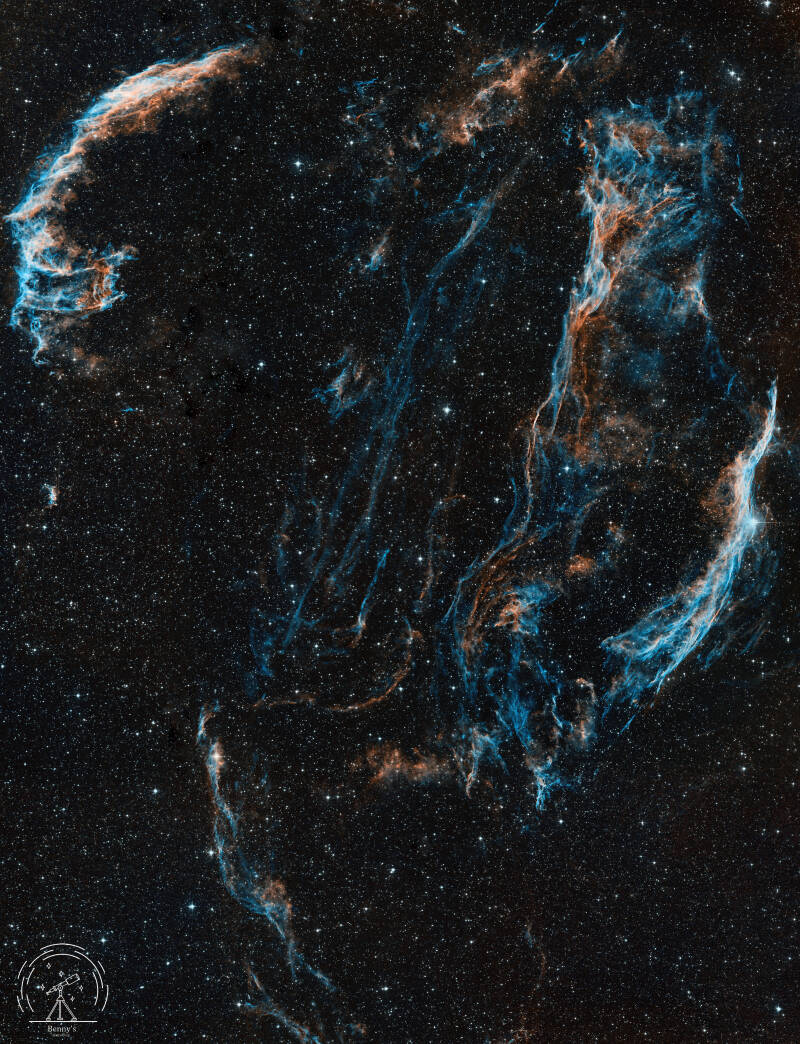
The new Skywatcher Quattro 150P offers some exciting opportunities for images of large hydrogen structures, g.e. supernova remnants like the Veil Nebula in the Cygnus constellation.
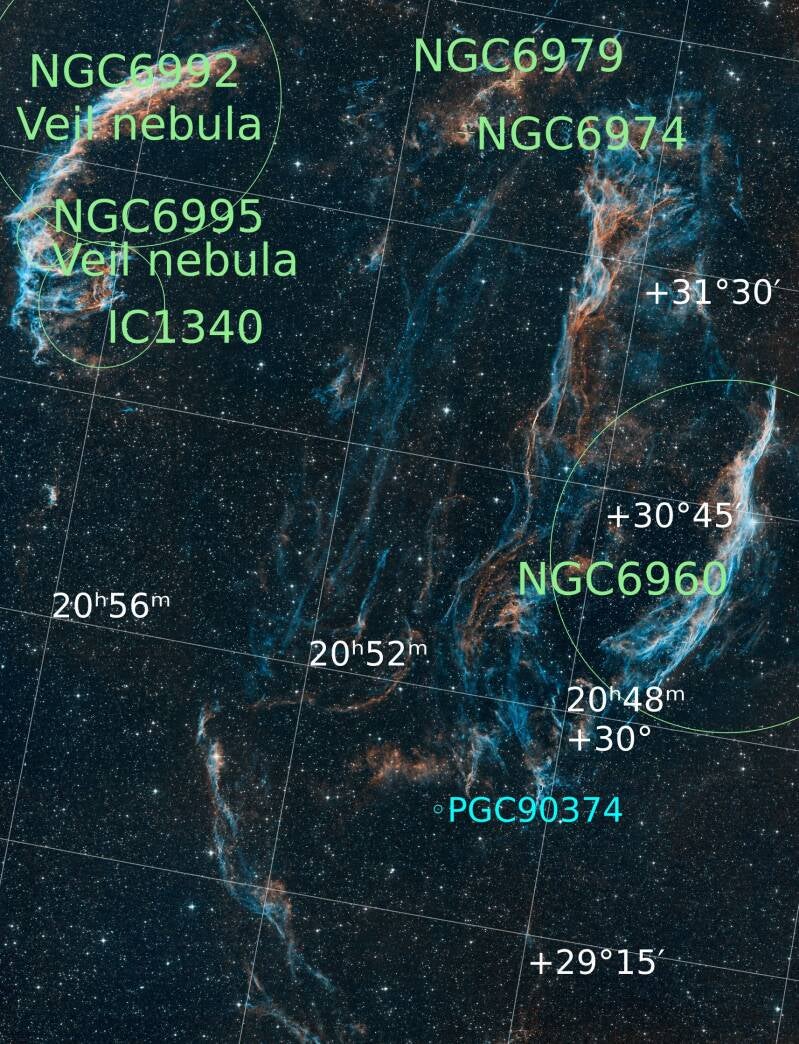
I started with some images of NGC6992/NGC6995 and NGC6960, but found that the interesting shape and structure of the whole nebula would be worth a mosaic.
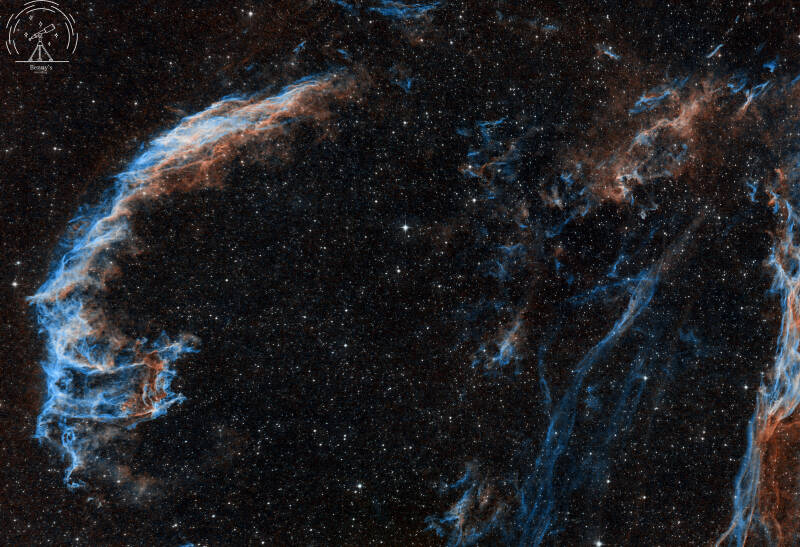
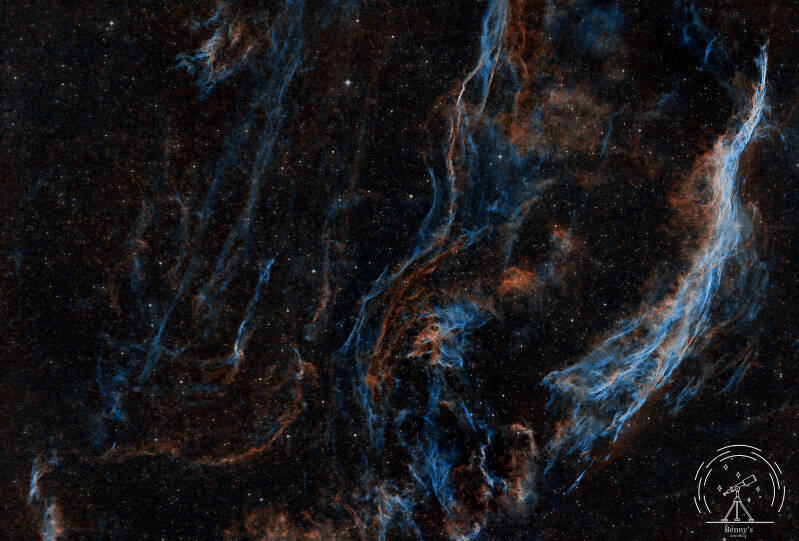
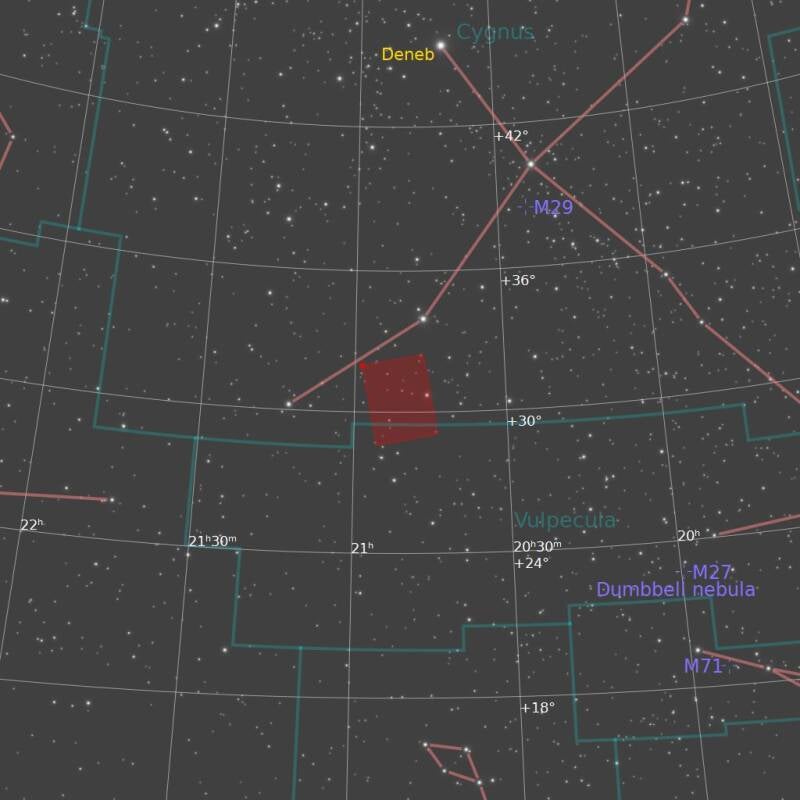
I planned a 3x2 mosaic, which spreads about 2.3° x 3.2° - an area of more than 30 full moon areas. I am using the Quattro with a 0.86 reducer/flatterner, resulting in a quite fast telescope - thus I could plan for only one clear night per panel with about 3 hours of integration time. The camera is a ZWO ASI 294 MC pro @ -16°C and for the Ha / OIII lines I am using an Optolong L-eXtreme dual-band filter.
After the image acquisition and stacking with SiriL, I tried the approach I used for the Elephant's trunk (see here) with one major change: I wanted to implement BlurXterminator in the workflow. My standard workflow with PixInsight for narrowband images is currently the following:
- Crop Ha, transfer the crop to OIII
- Clone both images
- Use BlurXterminator on Ha / OIII only non-stellar for without sharpening of the stars (as the next step might sometimes fail)
- Remove the stars with Starnet2
- If necessary, do some noise reduction, e.g. with MLT.
- If necessary, do some background flattening, e.g. with DBE.
- Make images non-linear
- Combine Ha/OIII to an RGB image with PixelMath, using the technique described here.
- Apply BlurXterminator to the Ha/OIII clones and sharpen the stars.
- Create a star mask from the OIII clone using Starnet2
- Combine the clones using PixelMath for a natural star color (requires some trial and error).
- Use the star mask to combine the nebula image with the stars
- Use curve transform to boost the stars and adjust the colors of the nebula.
When using this process for a mosaic, a couple of additional steps are required:
- Plate solve the panels using ImageSolver. This can fail on the Ha/OIII images, so I combined them with PixelMath to a color image, which works for the image solver, and then transferred the results to the Ha/OIII images using the script CopyCoordinates.
- I tried to first combine the Ha and OIII images with MosaicByCoordinates and GradientMergeMosaic, resulting in two large Ha / OIII mosaics, and combine them with the process described above. However, this approach failed, when I applied BlurXterminator to these mosaics - the image was full of artifacts, noise, strange stars. Seemed like the BlurXterminator AI has issues with the overlapping areas of the mosaic.
- So I tried a different approach and applied BlurXterminator to the Ha / OIII images of each panel separately.
- From there, the process continued with MosaicByCoordinates and GradientMergeMosaic, resulting in an Ha and an OIII mosaic image, which could then be processed as described above (skipping steps 3 and 9).
Below: Resulting mosaics of the H-alpha (left) and OIII images (right):
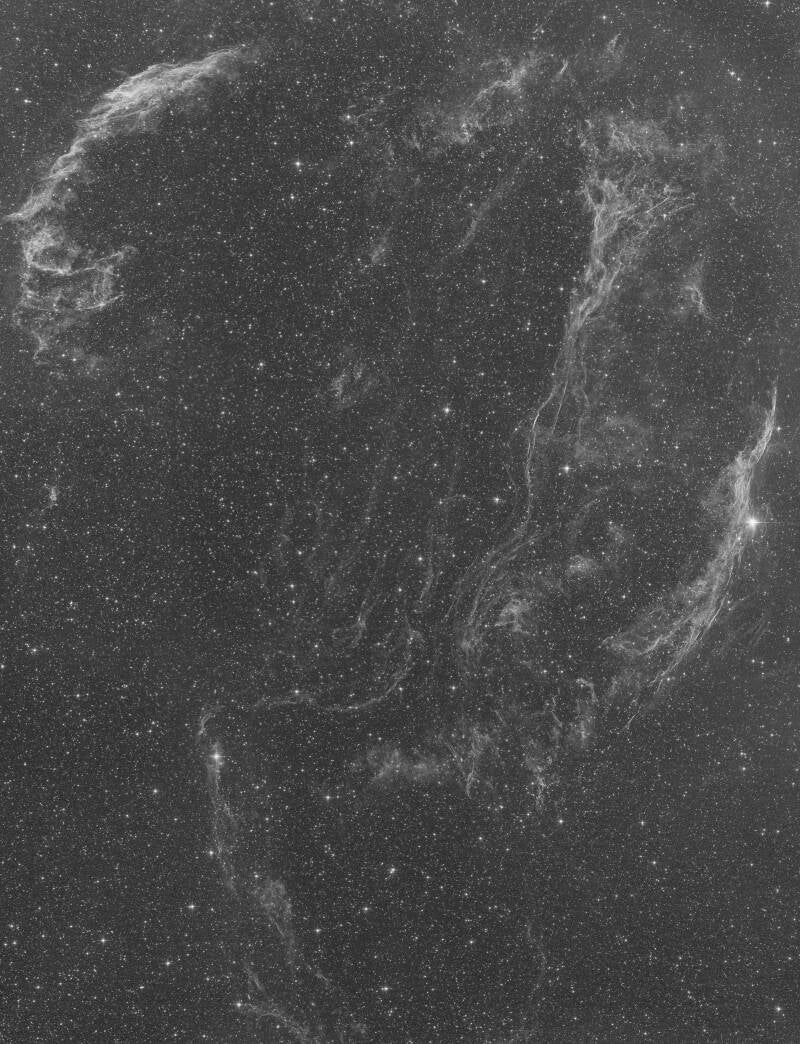
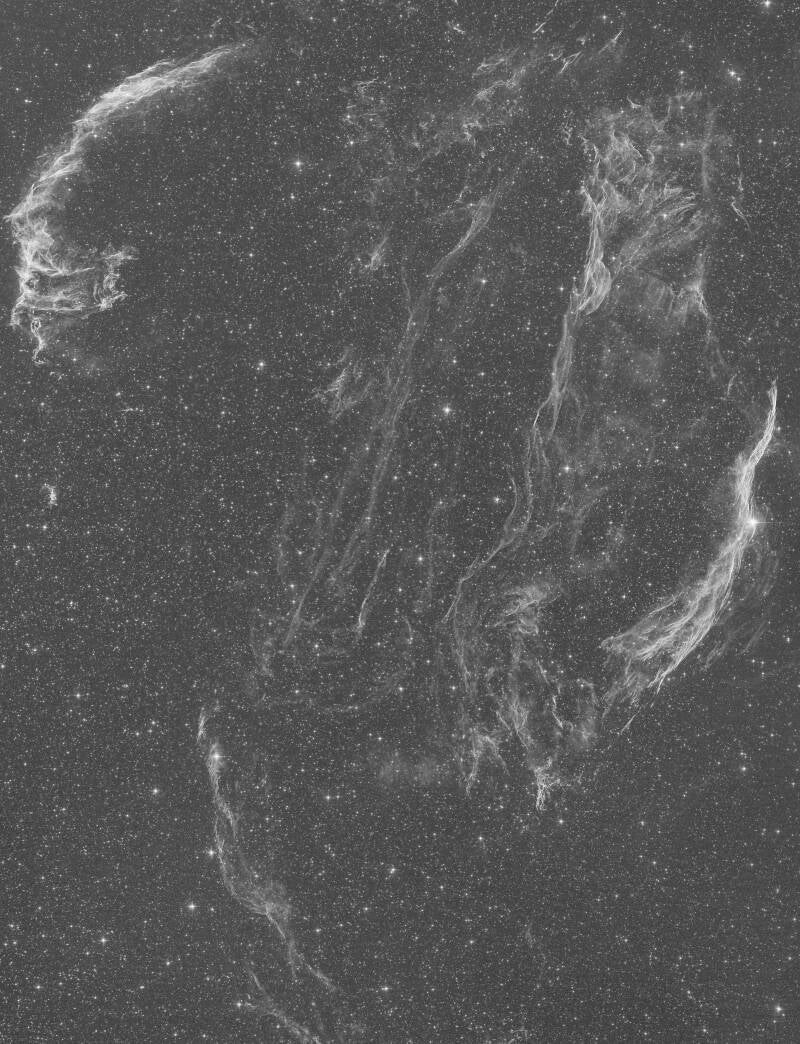
The star removal with Starnet2 revealed some issues in the H-alpha image: A strange background in the upper right corner which are more typical for the OIII signal in e.g. Bortle 4 areas and some issues in the average-merge of the GradientMergeMosaic script.
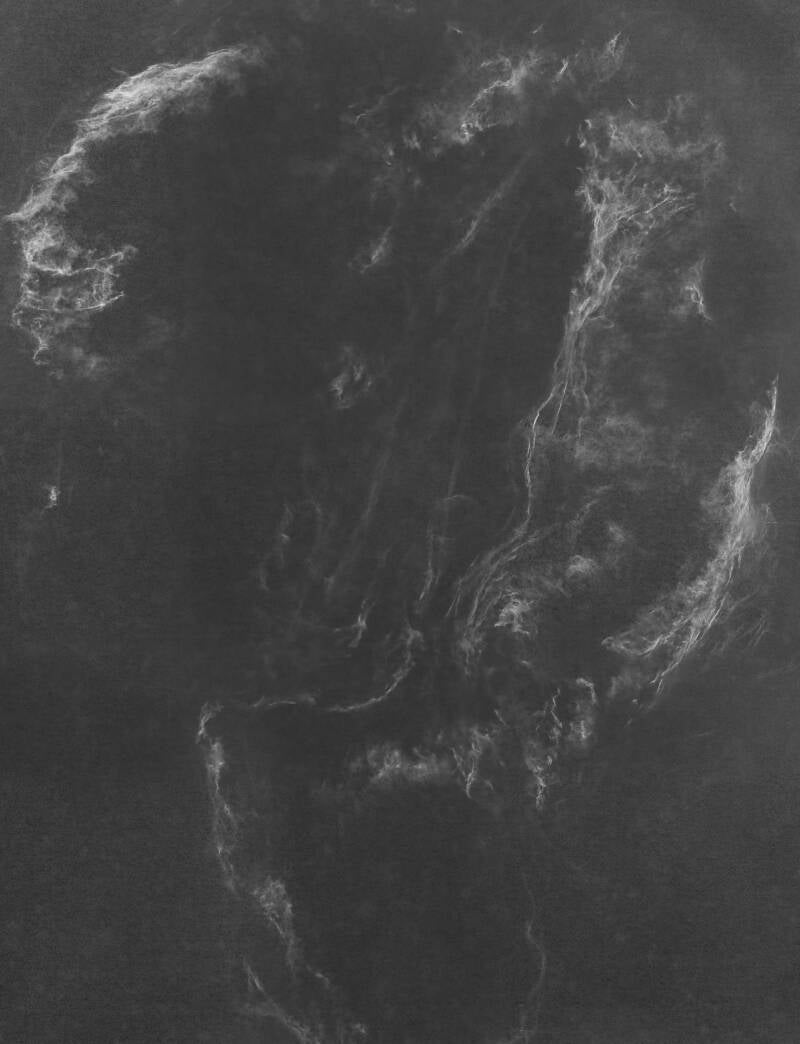
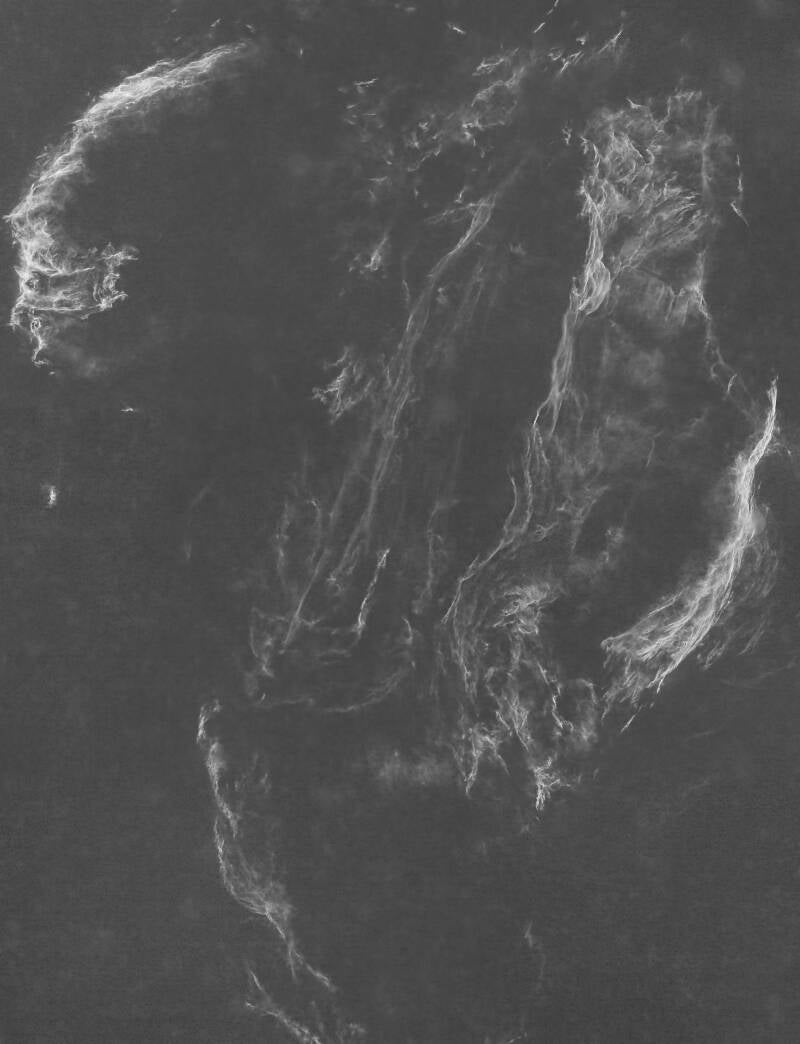
I was able to remove the background carefully with DBE and merge them with PixelMath. Finally, I added the stars as described above.
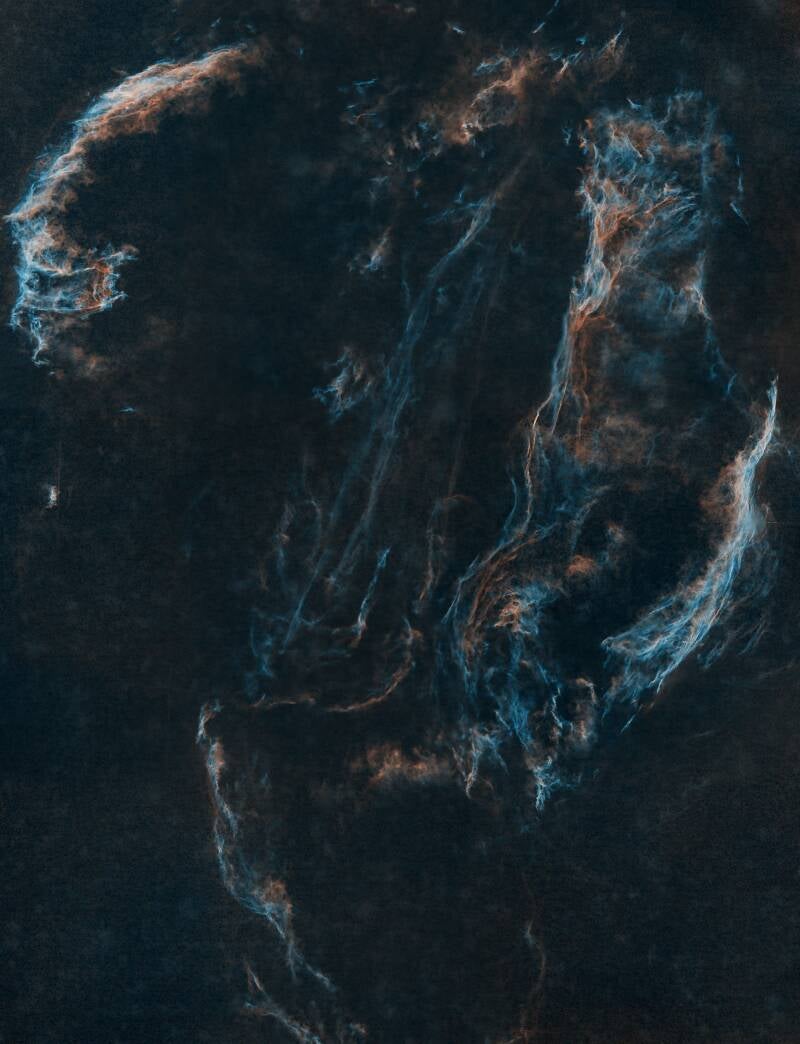
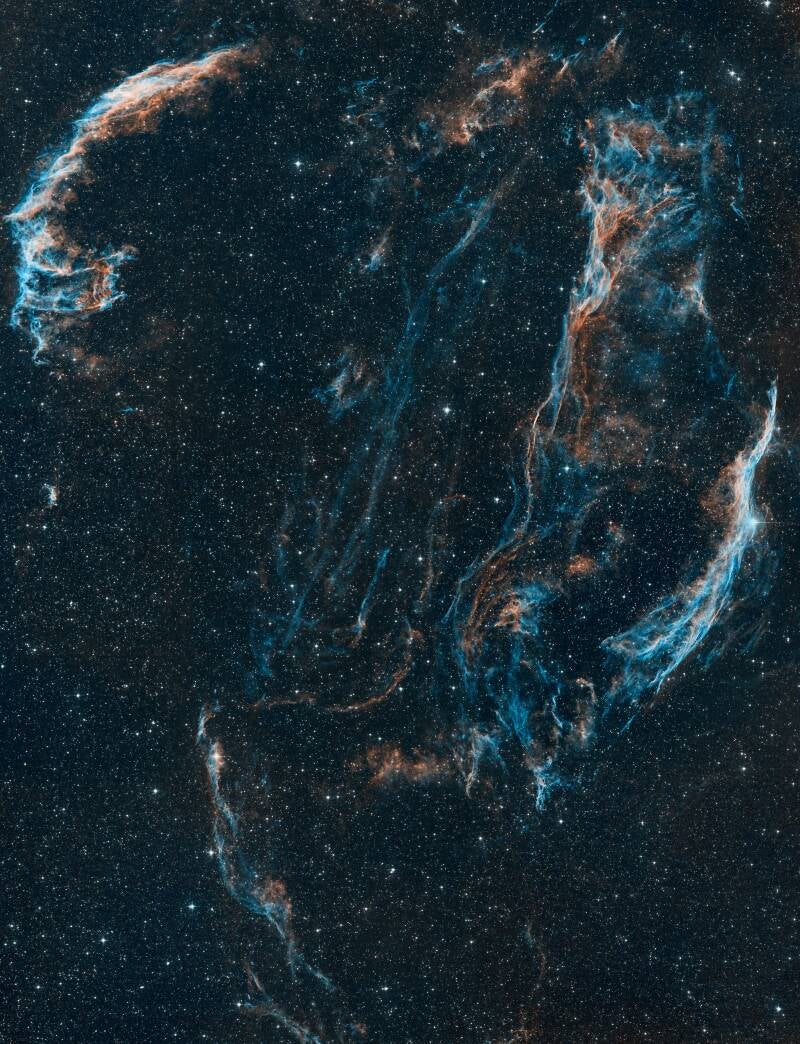
The resulting image still had some blue tint in the background, which I removed in Photoshop PS2 and did some clone stamp to remove areas where the image stitching showed blurry results in the star background.
Add comment
Comments